
A Practical Guide for Cold-Weather Camping and Full-Time RV Living
If you plan to camp in chilly weather—or live full-time in your RV through the winter—your furnace becomes one of the most critical systems in your rig. RV furnaces are reliable workhorses, but they rely on clean airflow, safe propane delivery, and proper ventilation to operate efficiently.
A little preparation before cold weather sets in can help you stay warm all season, reduce propane usage, and avoid inconvenient (and expensive) furnace breakdowns when temperatures drop.
This guide walks you through the essential steps to prepare your RV furnace for winter.
1. Check Exterior Furnace Vents
Every RV furnace uses exterior intake and exhaust vents to bring in fresh air and safely vent combustion gases. If these vents become blocked, the furnace may overheat, shut down unexpectedly, or operate inefficiently.
Locate the exterior furnace vent—usually a metal panel with slotted openings—and inspect it for mud dauber nests, spider webs, leaves, or dirt. If you use aftermarket vent screens, ensure they are clean and do not restrict airflow.
Keeping these vents clear is essential for safe operation and proper combustion.
2. Inspect and Clean the Furnace Compartment
Most RV furnaces do not use replaceable interior air filters. Over time, dust can accumulate inside the furnace compartment, restricting airflow and reducing efficiency.
If your furnace allows owner access, remove the interior access panel and gently vacuum or brush out dust and loose debris using a soft attachment. Avoid touching wiring, burners, or removing any components.
This simple step helps the blower move air more freely and prevents dust from circulating throughout your RV.
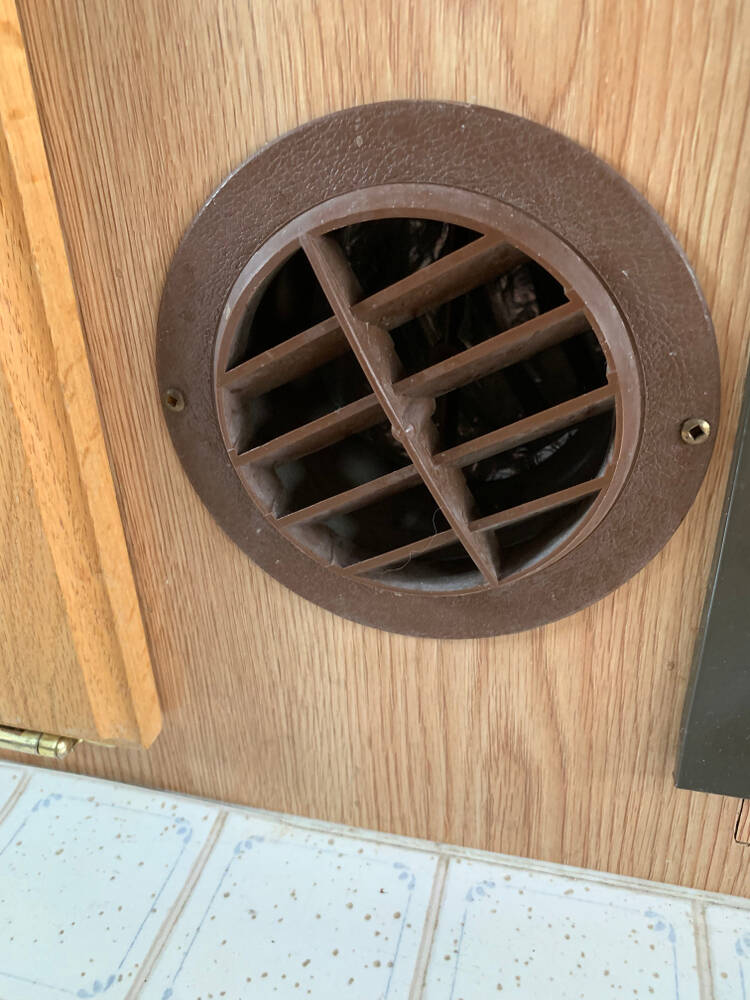
3. Clean the Furnace Air Return
Instead of a traditional filter, RV furnaces rely on an open air return to pull air into the system. Anything blocking this return—pet hair, lint, stored items, or bedding—can strain the furnace and reduce heating performance.
Locate the air return grille (often near the floor), remove it, and vacuum the grille and surrounding area. Make sure furniture, pet beds, and storage items are kept several inches away to maintain proper airflow.
4. Vacuum Heat Ducts (If Accessible)
If your RV’s furnace ducting is accessible, cleaning it can improve indoor air quality and reduce dust, pet dander, and allergens.
Remove vent covers and vacuum inside the ducts as far as your vacuum hose will reach. While this isn’t required every year, it’s a worthwhile step before heavy winter furnace use.
5. Test the Thermostat and Run the Furnace Early
Don’t wait for the first cold snap to discover a furnace issue. Before winter arrives, turn the furnace on and let it run long enough to confirm it’s heating properly and delivering warm air throughout the RV.
Replace thermostat batteries if applicable. A brief burning-dust smell during the first few minutes is normal, especially after months of non-use. However, listen carefully for unusual noises such as squealing, grinding, or repeated clicking.
Testing early gives you time to address issues before freezing temperatures arrive.
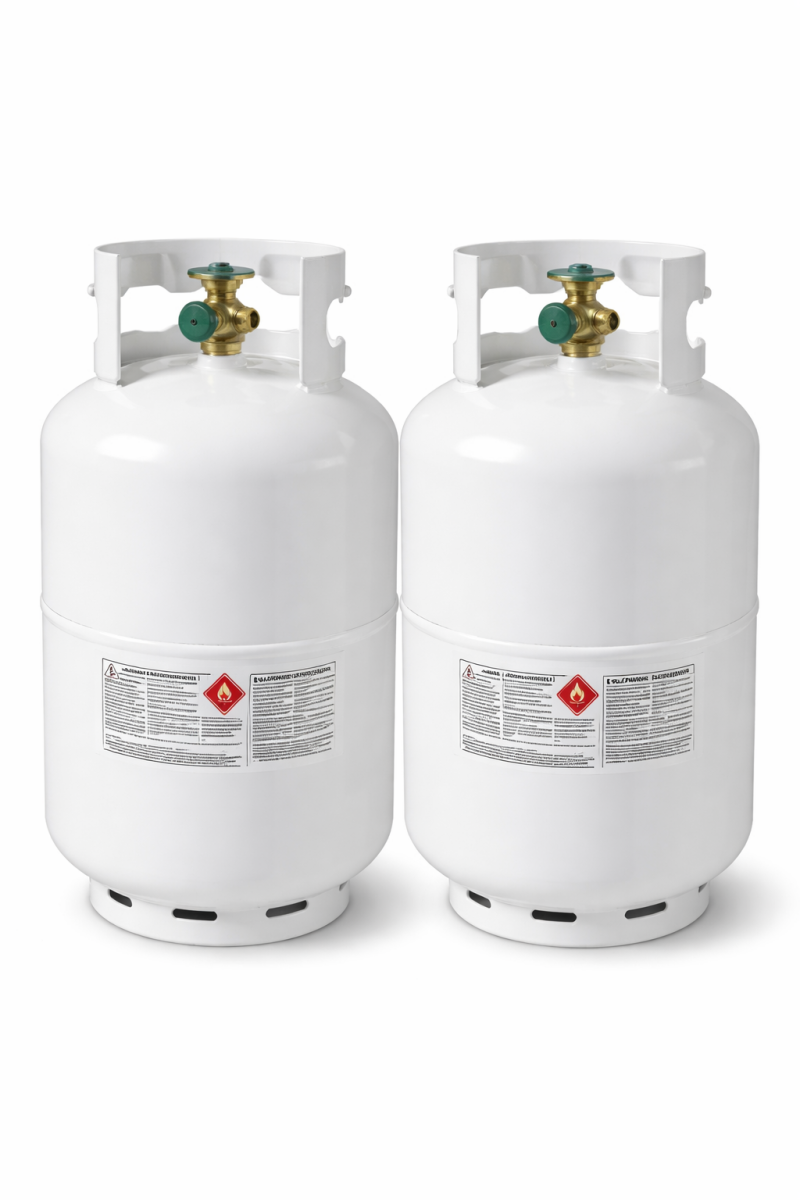
6. Inspect Propane Tanks, Lines, and Recertification Dates
Propane problems are one of the most common causes of RV furnace failures.
Start by checking propane levels and visually inspecting hoses and lines for cracking, abrasion, or wear. You can also perform a simple bubble test on exterior fittings using dish soap and water. If bubbles appear, turn off the propane immediately and contact a technician.
Check propane tank recertification dates as well. Portable propane cylinders must be recertified every seven years. The manufacture date is stamped on the tank collar. If your tank is out of date, arrange recertification or replacement before winter.
7. Check Safety Detectors and Fire Equipment
Cold weather means increased propane appliance usage, making safety equipment especially important.
Test both your carbon monoxide detector and propane leak detector. Replace batteries annually—early fall is a good reminder—and replace detectors that are expired, as most have a lifespan of five to seven years.
Inspect your fire extinguisher and ensure it’s mounted within two feet of the RV entrance, where it can be accessed quickly from outside. Check that the pressure gauge is in the green.
RV technician Bryan Carbonell also recommends occasionally flipping the extinguisher upside down to loosen the dry chemical inside, which can compact during travel and reduce effectiveness.
When to Call a Mobile RV Technician
Even with good preparation, some furnace issues require professional attention. Contact a technician if you notice:
-
The furnace fails to ignite or shuts off repeatedly
-
Soot buildup around the exterior exhaust
-
Circuit breakers tripping during furnace operation
-
A lingering propane odor or burning smell beyond initial dust burnoff
-
Loud squealing or grinding noises from the blower motor
A mobile RV technician can diagnose and repair these issues on-site—especially helpful if your RV is already winterized or parked for the season.
Tips to Improve Furnace Efficiency and Save Propane
Propane usage increases significantly in cold weather. These upgrades can help reduce heat loss and stretch your propane supply.
Why RV Owners Choose MilTech RV
✔ Certified, professional mobile RV service
✔ Furnace diagnostics, airflow issues, and propane system checks
✔ Safety inspections for winter camping and full-time RV living
✔ On-site service—no towing, no drop-offs
✔ Veteran-owned and operated
Schedule Your Furnace Check Before Winter Hits
Don’t wait until the first freezing night to find out there’s a problem. A pre-winter furnace inspection can help catch issues early, improve efficiency, and give you peace of mind all season long.
📞 Call or Text: 515-257-6021
🌐 Visit: www.miltechrv.net
Serving the Des Moines metro and surrounding areas.
Add comment
Comments